How To Recover Offline Mode Checkpoint Files W/ Android 11+
What Are Checkpoint Files?
When you use Offline Mode, you have to sync your offline actions once you’re online again so you can retrieve those transactions. Most of the time you can achieve this in Arryved Service at the time you’re getting out of Offline Mode, however, if you surpassed the 72-hour window or there’s another issue with syncing, your Checkpoint Files are your backup recovery method. Use this guide to learn how to retrieve your Checkpoint Files from your Android device so our Support Team can help you recover those transactions!
Prerequisites
Orders or transactions were performed in Arryved Service during Offline Mode and you were not able to sync your actions.
The network is back on and working properly.
The device is running on Android OS 11 or higher. If your device is an earlier version, use the Checkpoint Files for Android 10 and Lower guide instead.
Limitations
Checkpoint Files may take up to 30 minutes to appear after the action took place in Arryved Service.
If you had multiple devices in Offline Mode, you’ll need to recover the Checkpoint Files on each device separately.
Your Checkpoint Files may not be recoverable if you did not have Storage Permissions allowed for Arryved Service before entering Offline Mode.
How It Works
Download Or Open The ‘Files’ App
Your Checkpoint Files can be found in the ‘Files’ app on your Android device. It’s a blue icon with a white folder.
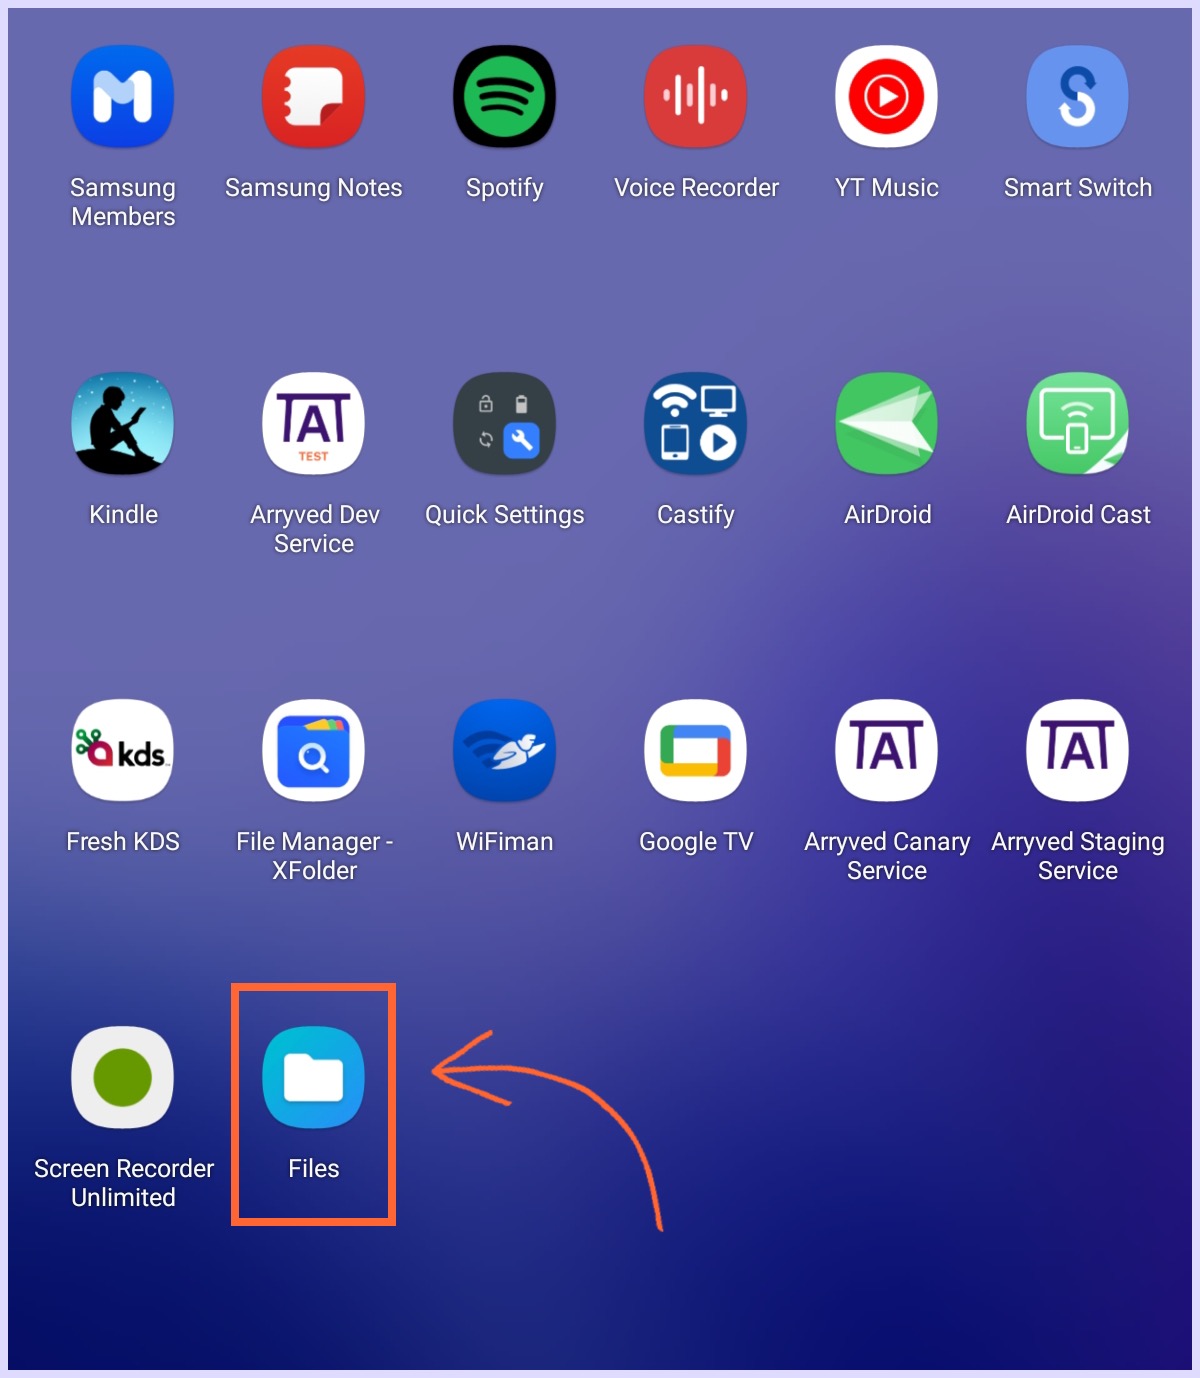
If you have a newer device, you probably have this app already. If you can’t find it, download it from the Google Play Store.

Retrieve your Checkpoint Files
- Click the box that says ‘Android’ (be careful not to be confused with ‘Airdroid’)
- Click data.
- Click com.arryved.
- Click files.
- You’ll now see all of your Checkpoint Files. Click the 3 vertical dots in the upper right corner of the screen to expand more options.
- Click Select all.
- Now you’ll see all of your Checkpoint Files selected with a blue checkmark. From there, click the share icon in the upper right (to the left of the trash can icon).
- Select Gmail or whatever email service you use and send these files to support@arryved.com. Write ‘Checkpoint Files from [Your Company Name]’ in the Subject line.
- Click Send.
Related Articles
How To Recover Offline Mode Checkpoint Files W/ Android 10 or Lower
How To Exit Offline Mode And Sync Devices