How To Add Category Tiles
What Are Category Tiles?
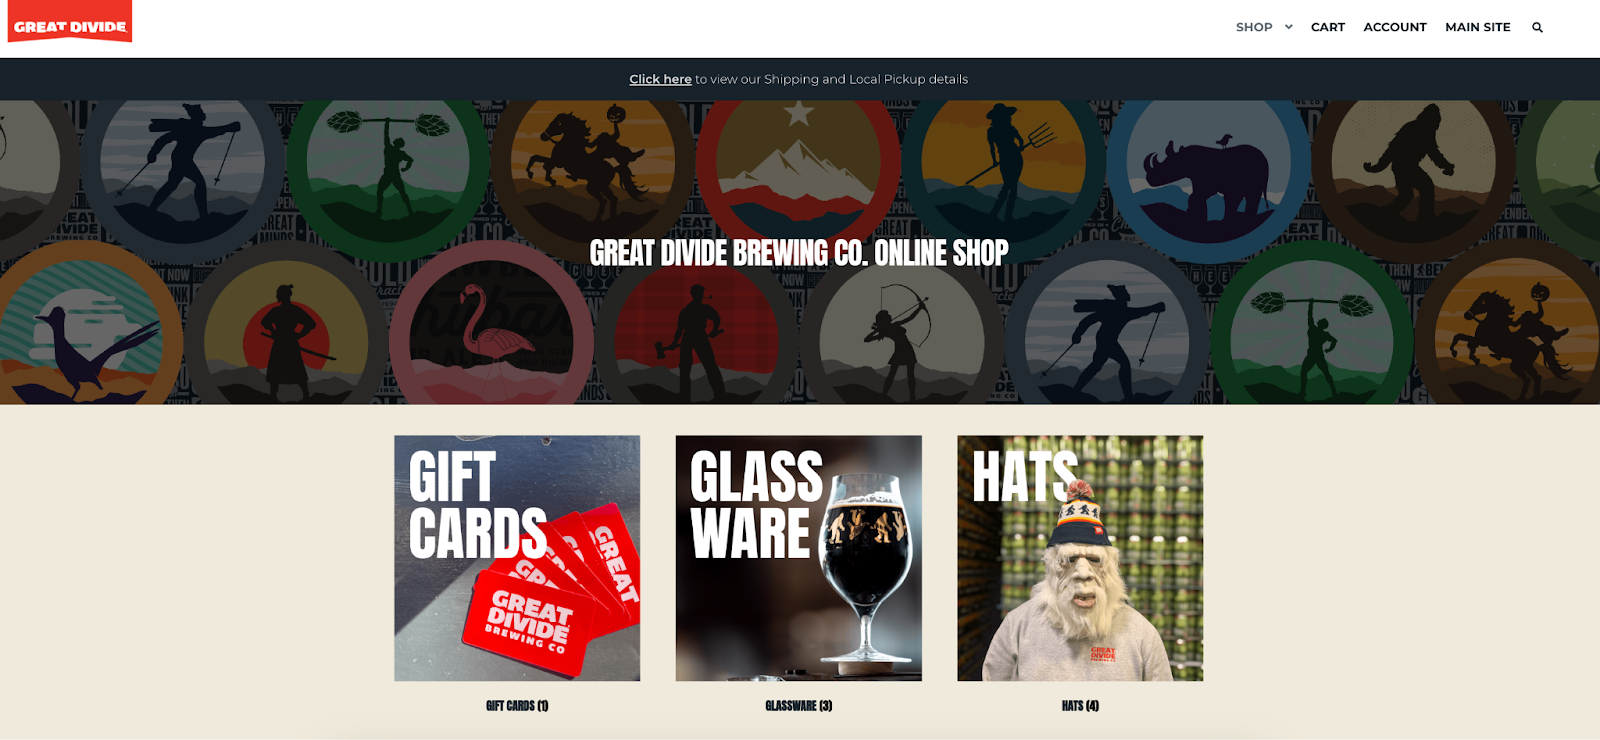
On the homepage of your Web Solutions Shop, you can display your Product Categories in eye-grabbing tiles so your shoppers can easily see what you have to offer and quickly get to the Products they’re interested in. Use this guide to learn how to set up your Category Tiles.
Prerequisites
You have an Arryved Web Solutions Shop.
This guide does not show you how to create the Categories themselves. To follow along with the steps in this guide, have at least one Product Category created first.
Have the photos or images that you want to display in the Category Tiles handy. The standard size for shop images is 1000x1000 pixels.
Limitations
If there are no products assigned to the Category, then the Category Tile will not display on the homepage until a product is added.
If you need to make changes to your Shop navigation and dropdown options, reach out to web-solutions-support@arryved.com, and we'll make the changes for you.
How It Works
Adding Category Tiles
Log into your the Admin Dashboard for your Web Solutions Shop.
From the left navigation, click Products.
Click Categories.
From your list of Categories, click on one you’d like to create a display tile for.
Next to Thumbnail, upload the image you want to display in the tile for this Category.
Scroll up to find the URL of this page. Look for the “ID=##” somewhere in the middle of the URL. Copy the ID number.
From the left navigation of your admin dashboard, click Pages.
Click on your “[Company Name Shop] - Front Page” page.
In the shortcode, add this ID number next to “product_categories ids=”. Separate from other IDs with a comma.
Next to “columns=” adjust the number of columns you want your Category Tiles to display in. In other words, how many tiles do you want to display in each row? We recommend 3-5.
Click Preview Changes to see a glimpse of what your Category Tiles will look like, then click Update when you’re ready to save.
Rearranging Category Tiles
Your Category Tiles will appear in the order they’re arranged on your Category list. To rearrange them:
From your Admin Dashboard, click Products from the left side navigation.
Click Categories.
Find your list of Categories and look for the ‘hamburger’ icon
to the right of each Category (3 horizontal, stacked lines) Click and drag it to move a Category up and down. Changes will auto-save.
Related Articles
Related Articles
Web Solutions: Shop Memberships
What Are Web Solutions Memberships? With Web Solutions Memberships, you can restrict access to your Online Shop to members only. Your membership program is fully customizable. A Web Solutions Support Specialist will work closely with you to get it ...Web Solutions: Shop Coupons
Coupons To create a basic coupon or discount code for your online store, go to WooCommerce > Coupons > Add Coupon. The "Coupon code" field at the top is what the coupon/discount code will be that you will give to your customers (for example: ...Web Solutions + POS Sync Overview
What Is The Arryved Web Solutions + POS Sync? Say goodbye to your inventory headaches! Sync your Arryved Web Solutions Shop with your POS to accurately track inventory availability both online and in-house simultaneously. Whenever a sale is made in ...Web Solutions: Shop Subscriptions
What Are Web Solutions Subscriptions? Subscriptions are Products in your Web Solutions Shop that deliver your guests an offering on a cadence and collect recurring payments. Like your regular Products, you can create a simple Subscription (single) or ...Add A Shop Banner
Shop Banners The shop banner is the highlighted area just below your shop logo and navigation. It lives on every page in the shop and is a great way to add messaging that needs to be highly visible. Update your shop banner Log in to your shop. Click ...