How To Link A PDF To A Button
This article will outline the steps to add a link to a PDF as a button on your website.
Uploading and getting the link to your PDF
1. First, upload your PDF to the Media Library by visiting Media > Add New.

2. Drag and drop your file to the marked area or click the Select Files button to upload your file. You'll see your file appear as an item below with a progress bar and, once complete, with a link to EDIT.
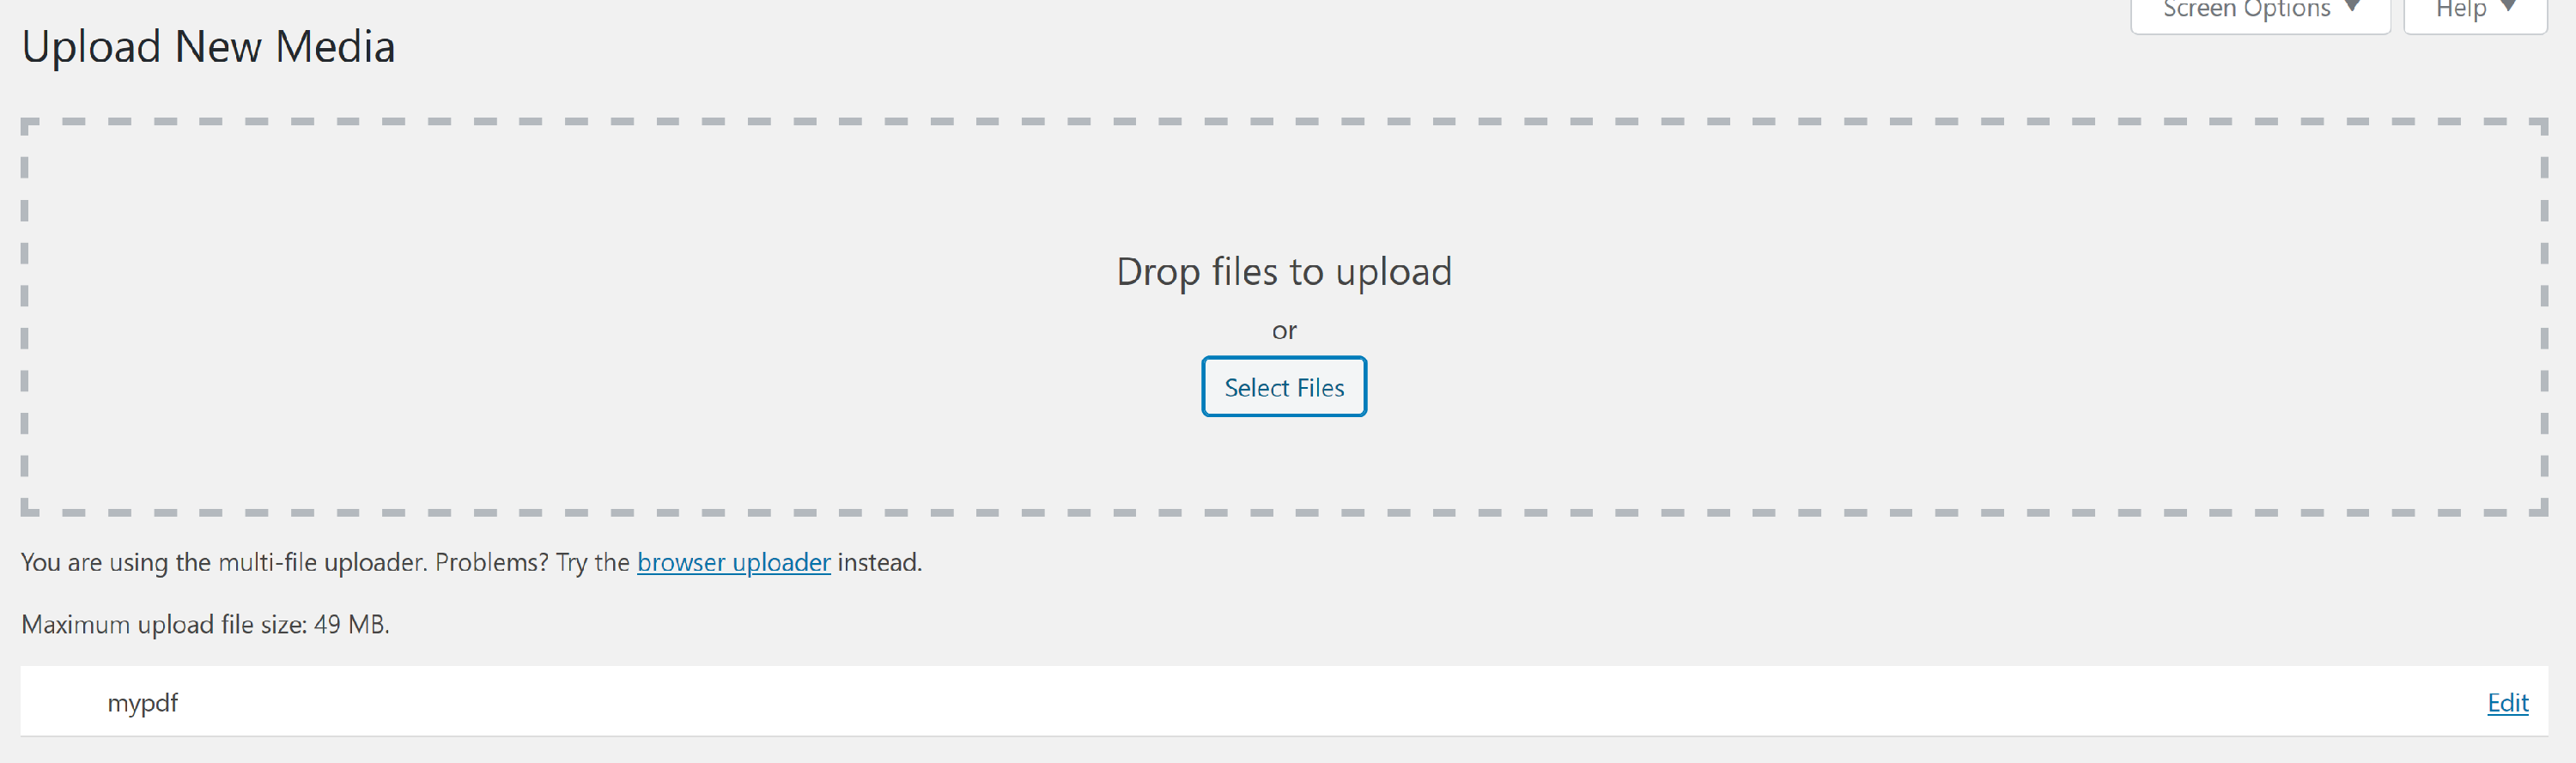
3. Now we'll need to copy the link where the file lives on the server to be able to link it to a button. Back in the main menu, click Library to view all of the media uploaded to the library.

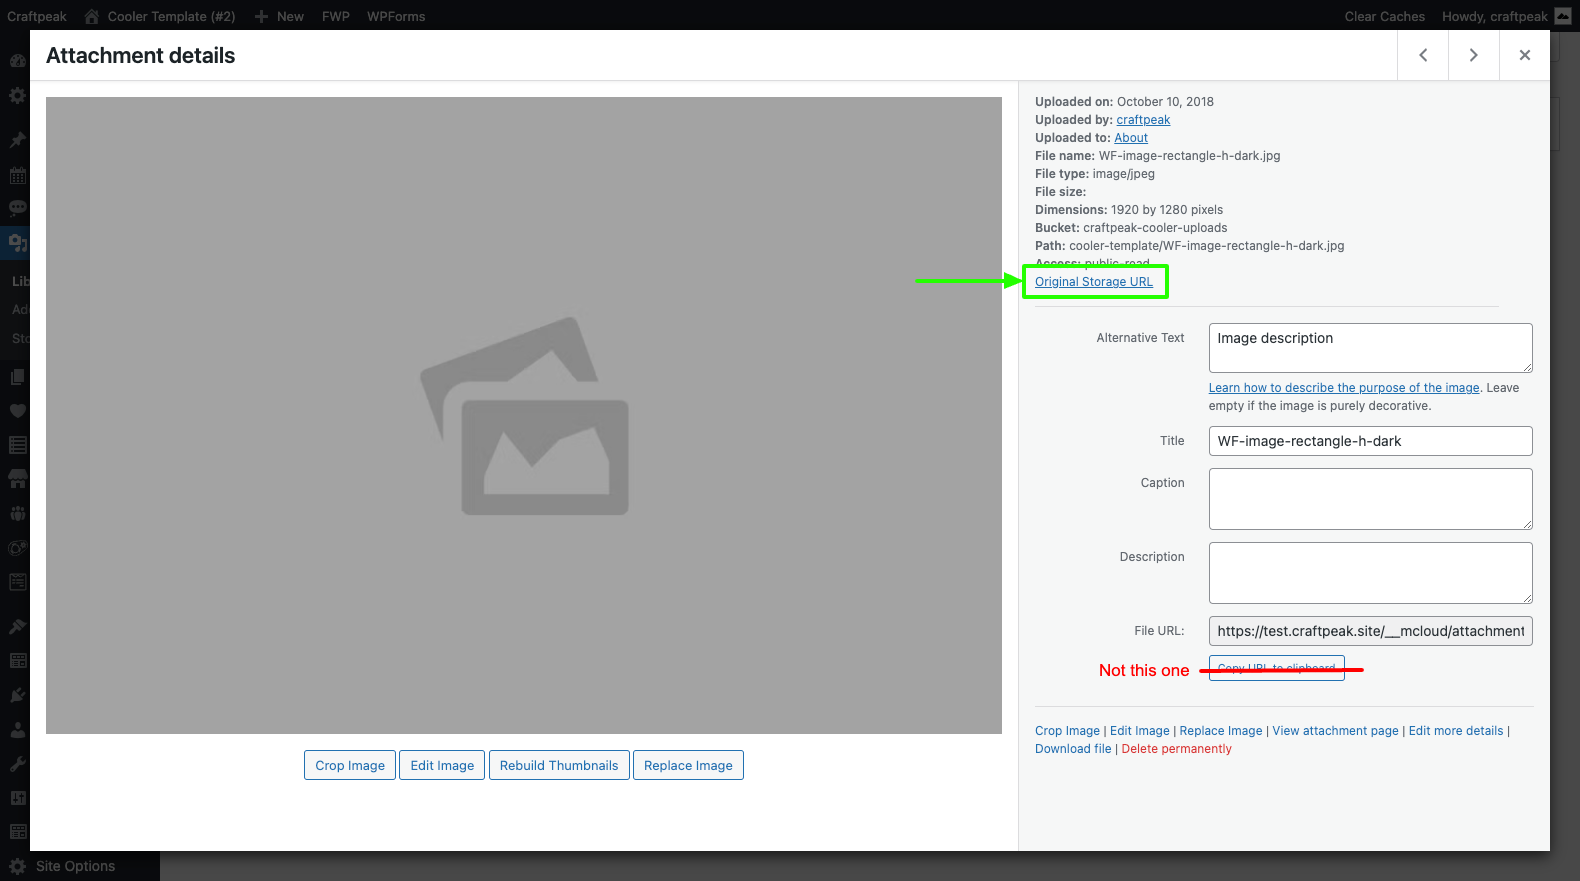
4. Find your new file and click the thumbnail to open a dialog box (shown below). On the right-hand side, find the Original Storage URL link (highlighted in the graphic below). Copy this link using your keyboard shortcuts or right-clicking and choosing Copy Link Address. You will use this link in the following steps.
Adding a button link
There are two methods for adding a button to your page depending on which editor your page is currently using: the Page Builder or the Content Builder.
1. Adding a Button with the Page Builder
- Visit the page where you want to add your PDF button and open the Page Builder.
- We'll be using our Craftpeak button module so that our custom styling will be maintained. Under the modules panel, click the drop-down to select from the Craftpeak Modules.
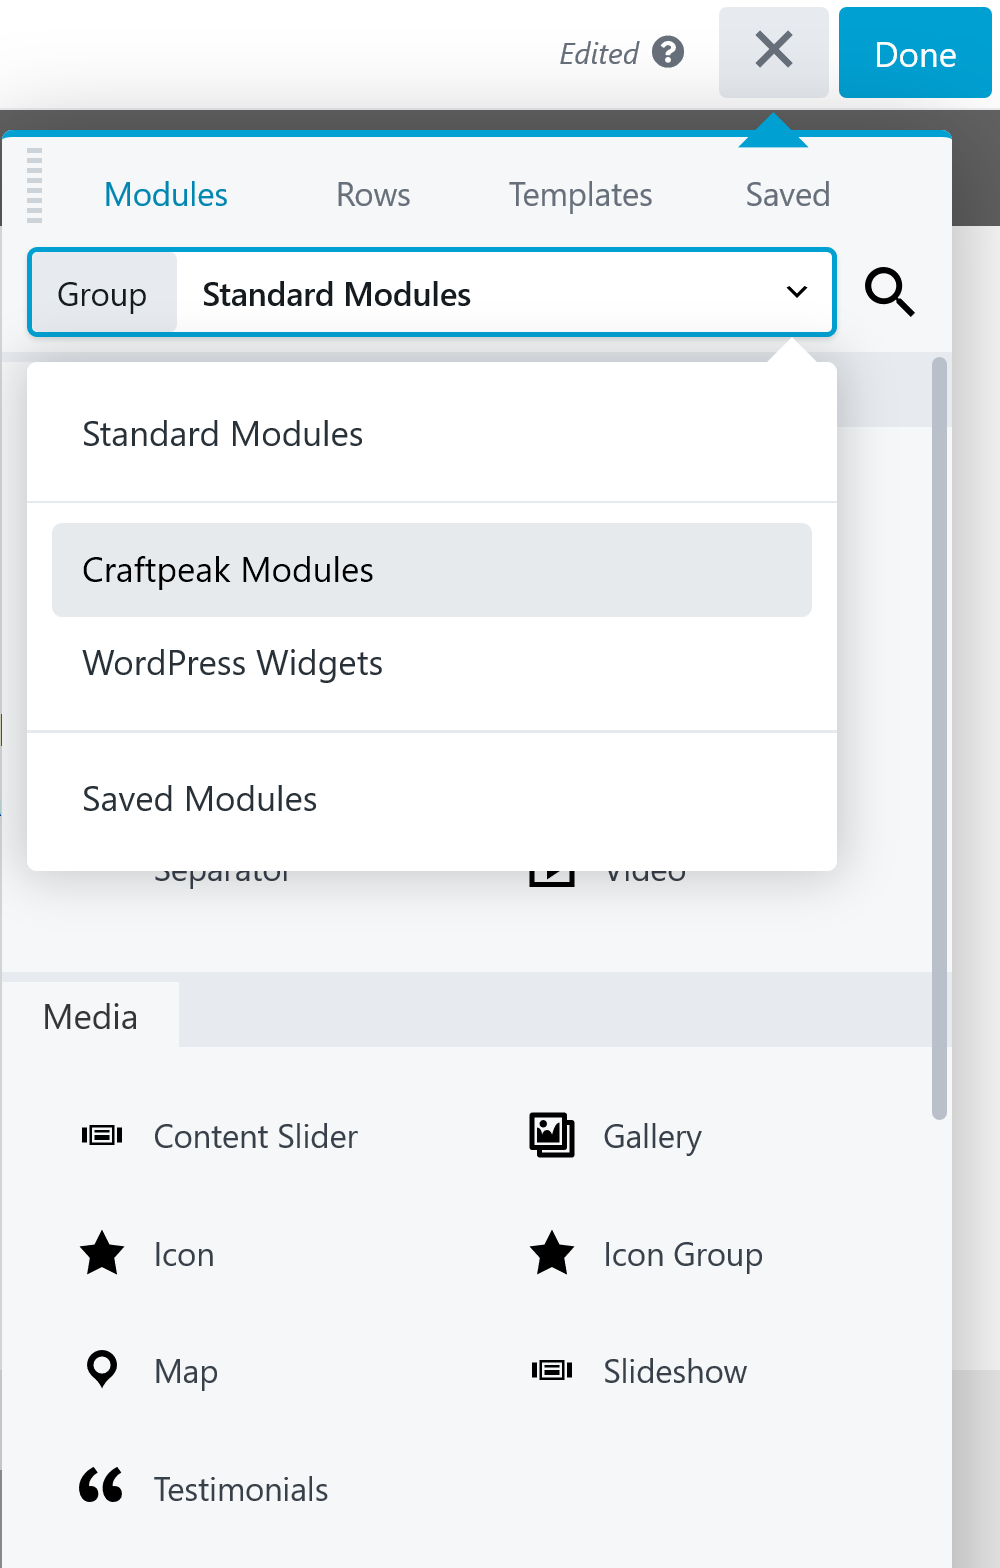
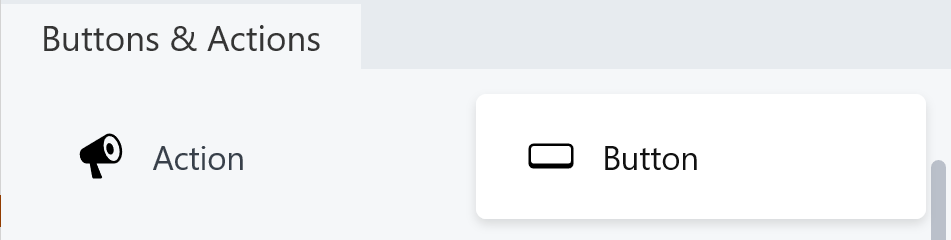
- Scroll down to the Buttons & Actions section. Click and drag the Button module to your page where a settings box will open up.
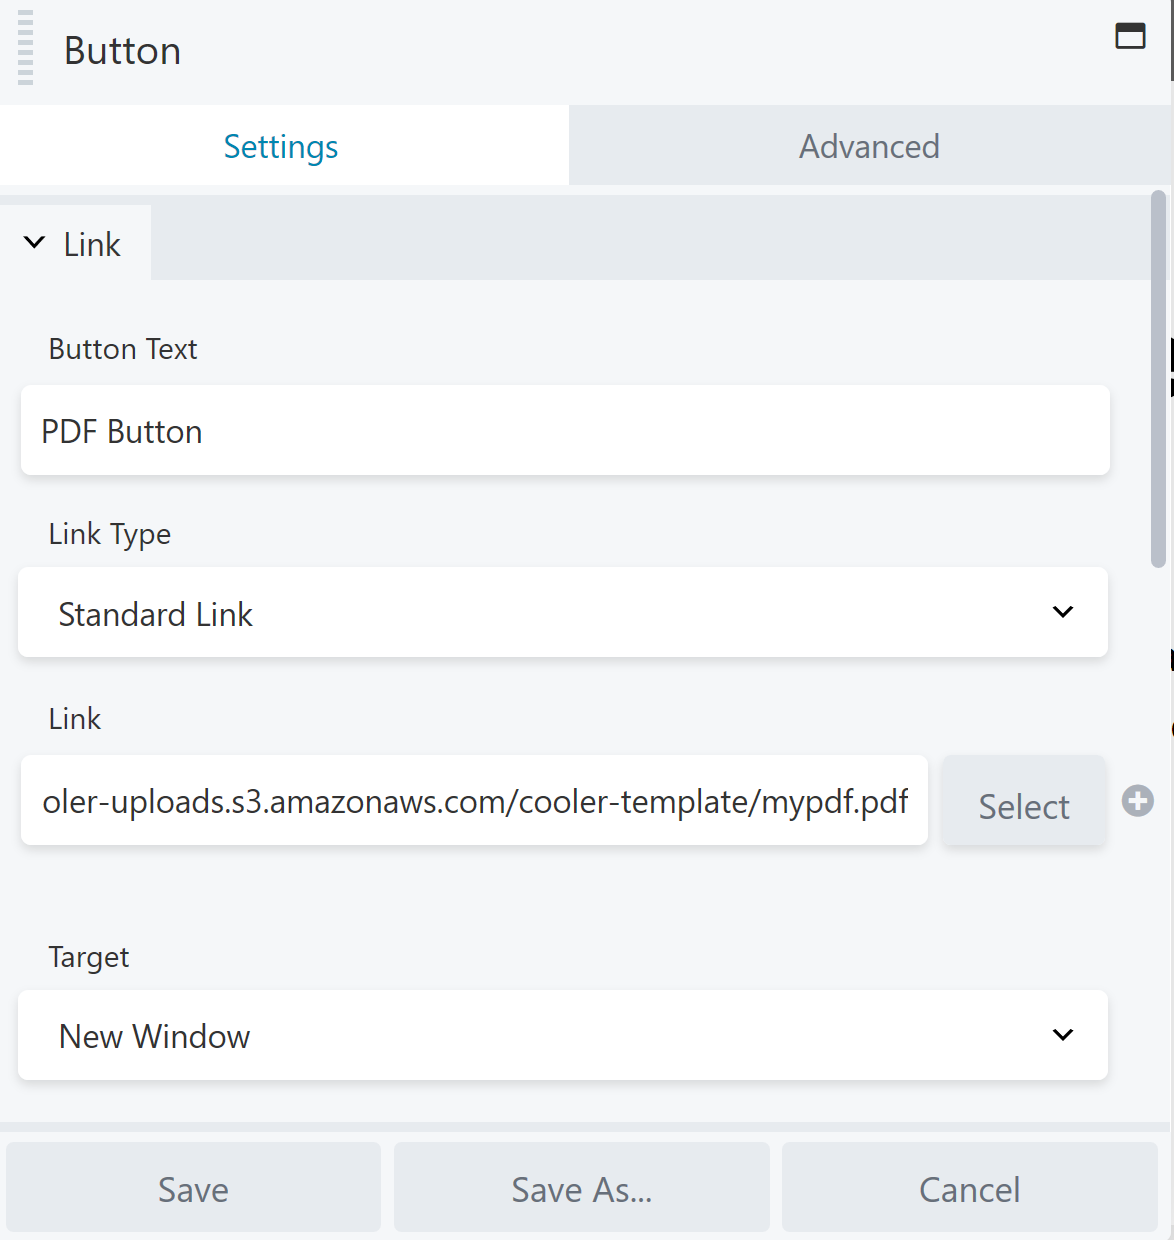
- In this box under the Settings tab:
- In the first box type the text for your button
- Leave Link Type at Standard Link
- For Link, use your keyboard shortcuts or right-click and paste your PDF link from the previous step
- Under Target, select New Window so that your file will open in a new browser tab (and your visitor will not have to use the back button to return to your page)
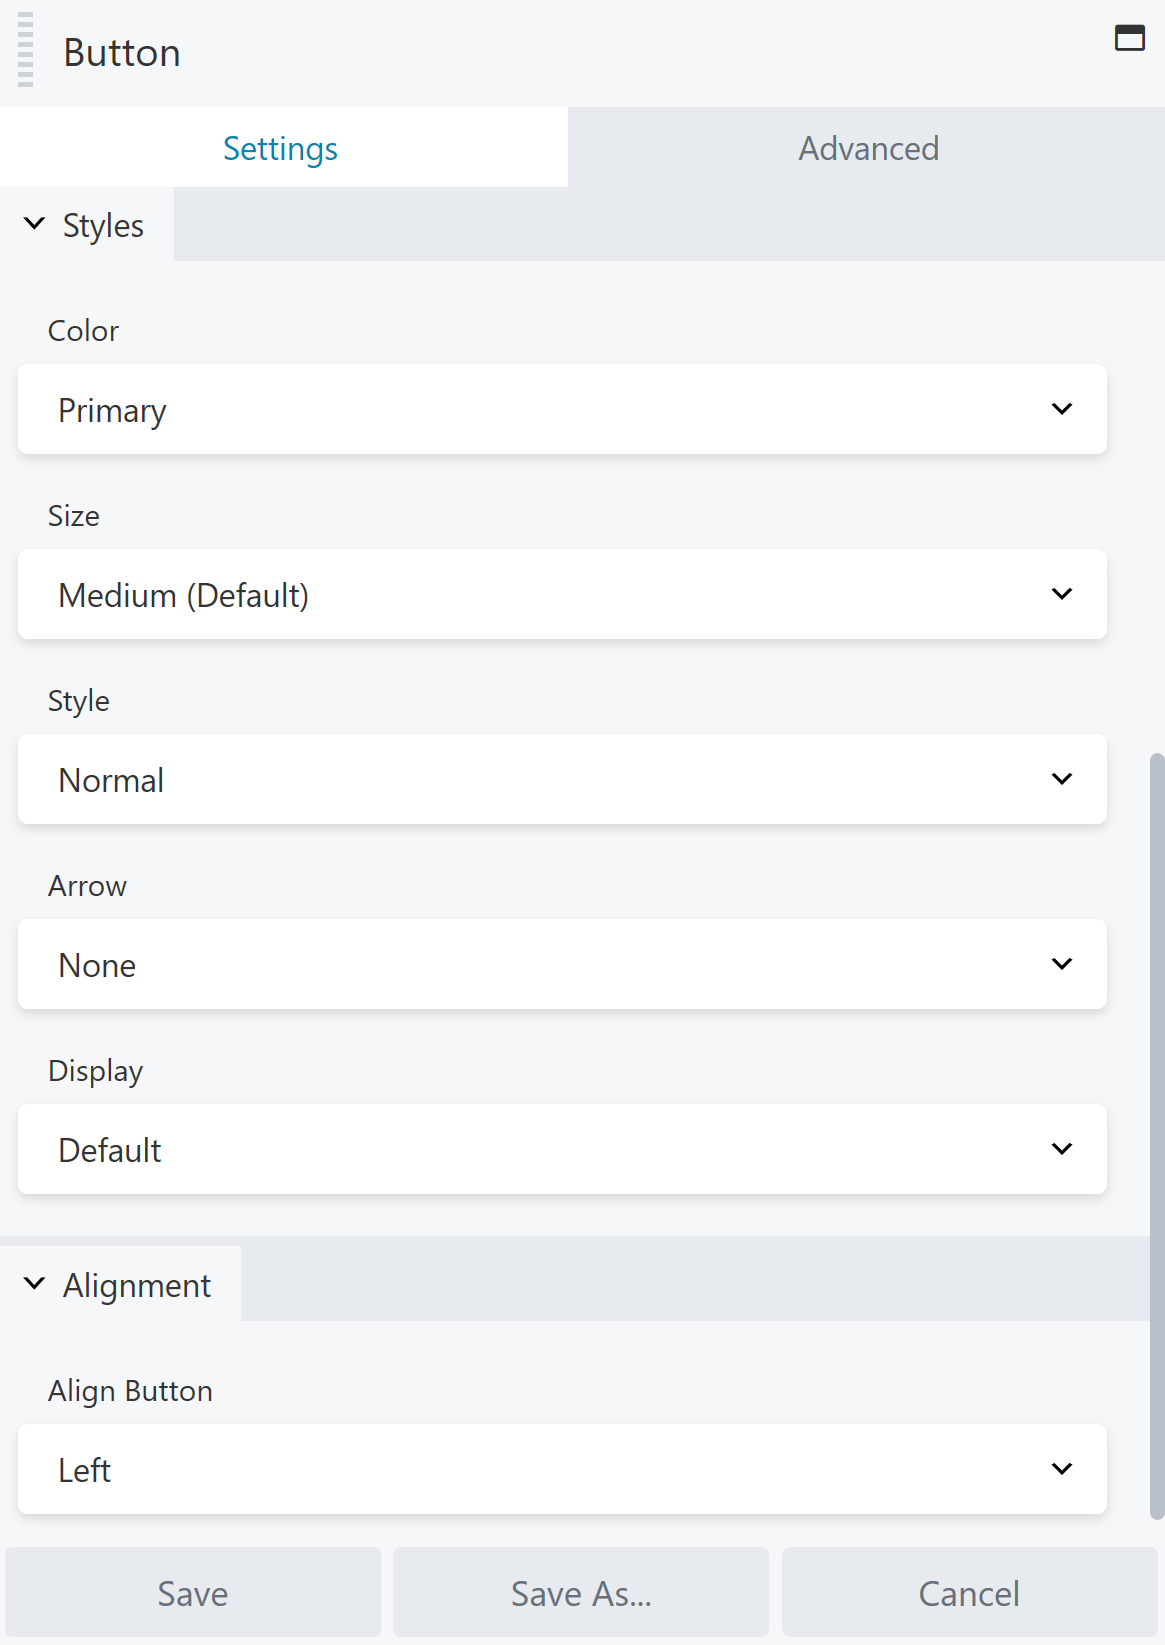
- Scroll further down to style your button:
- Color: Choose Primary, Secondary or Tertiary for the pre-defined brand colors used throughout your site
- Size: Tiny, Small, Medium, Large
- Style: Normal (solid), Inverse
- Arrow: None, Left, Left Justified, Right, Right Justified
- Display: Default (width is limited to length of button text), Full Width (will expand to width of the container), Full Width Mobile Only
- Alignment: Left, Center, Right
- When satisfied with the look, click Save and Publish your changes.
Updating Buttons with PDFs - Page Builder
To update a button that already has a PDF attached, please follow the following tutorial:
- Uploading and getting the link to your PDF
- After obtaining the link to the PDF, navigate to the page with the button.
- Open the Page Builder
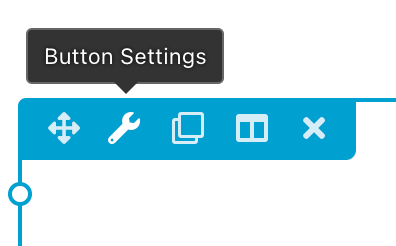
- Click on "Button Settings" to open the button module
-
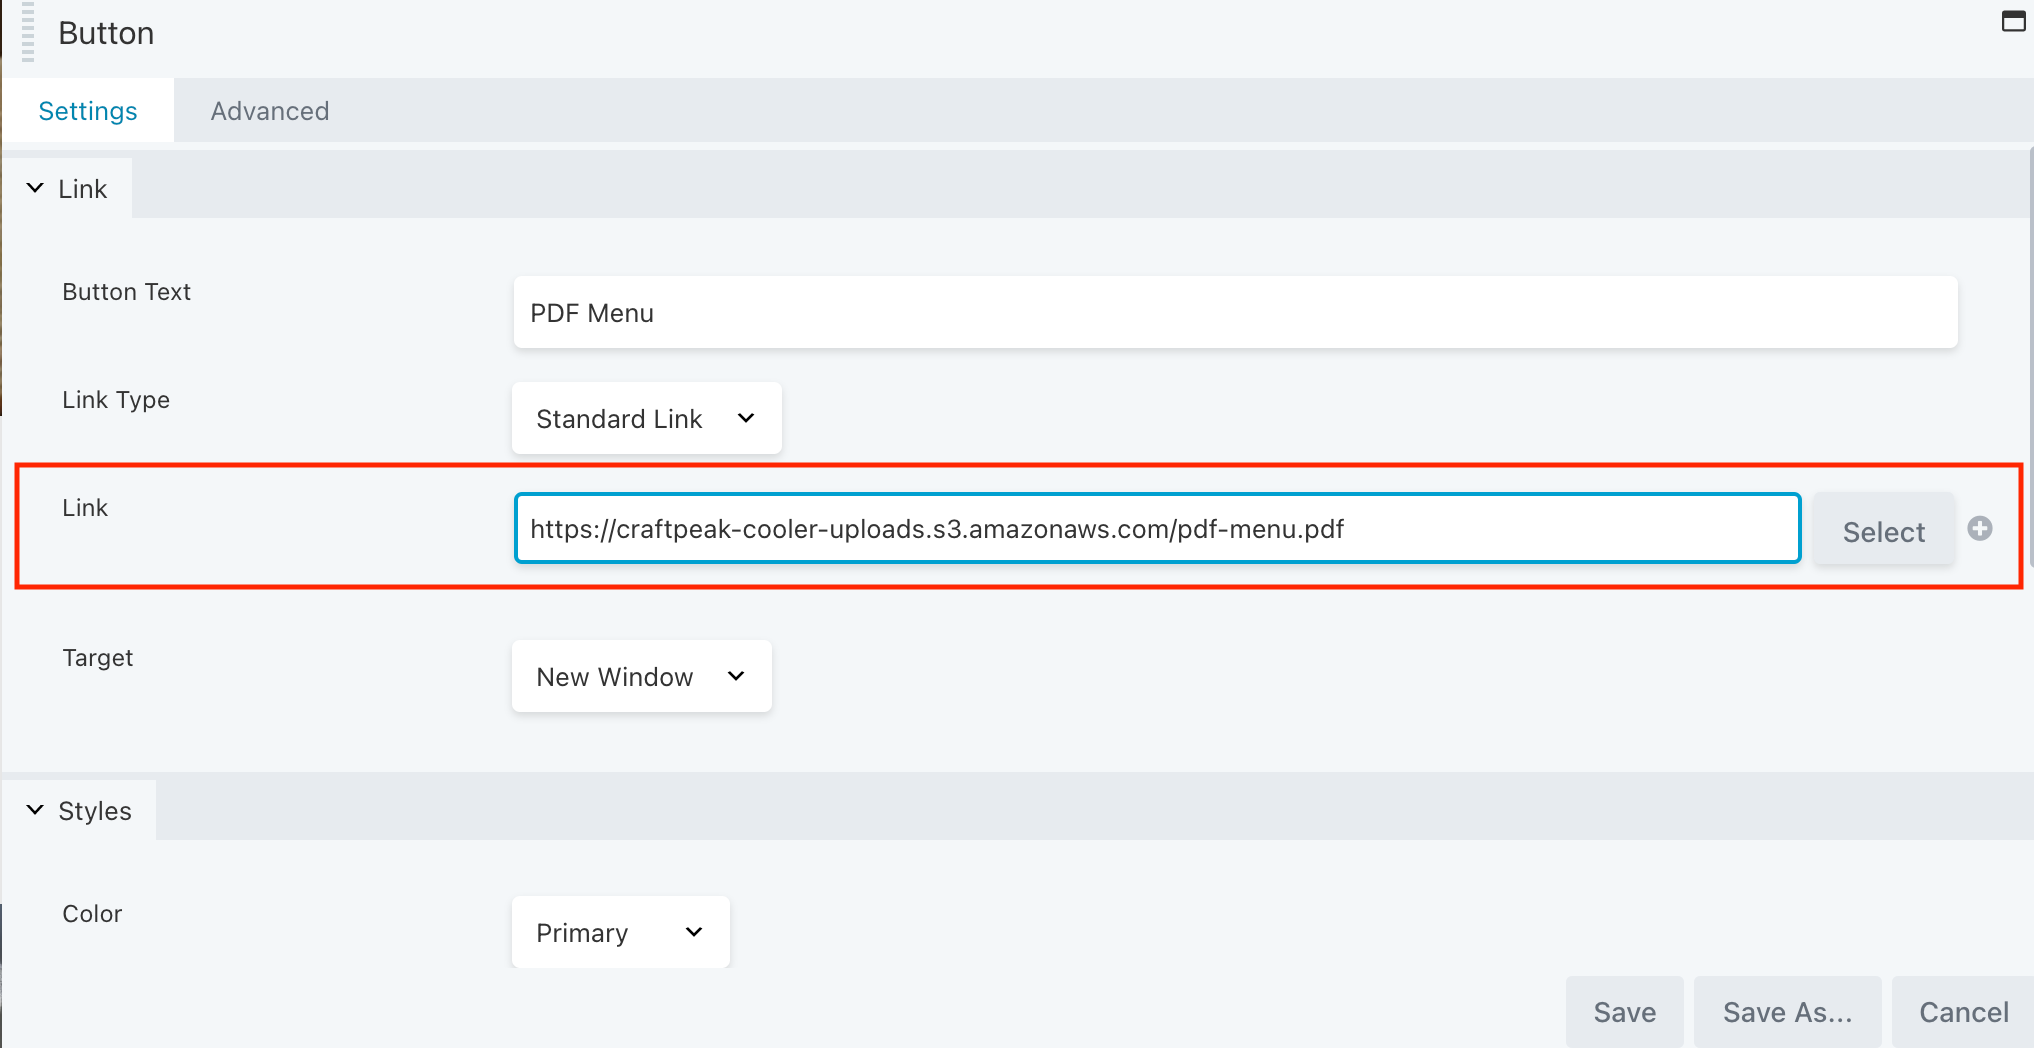
When the window opens, remove the old PDF link and paste in your new one.
- Press "Save" and then at the top right press the blue "Done" button and then "Publish"
2. Adding a Button using the Content Builder
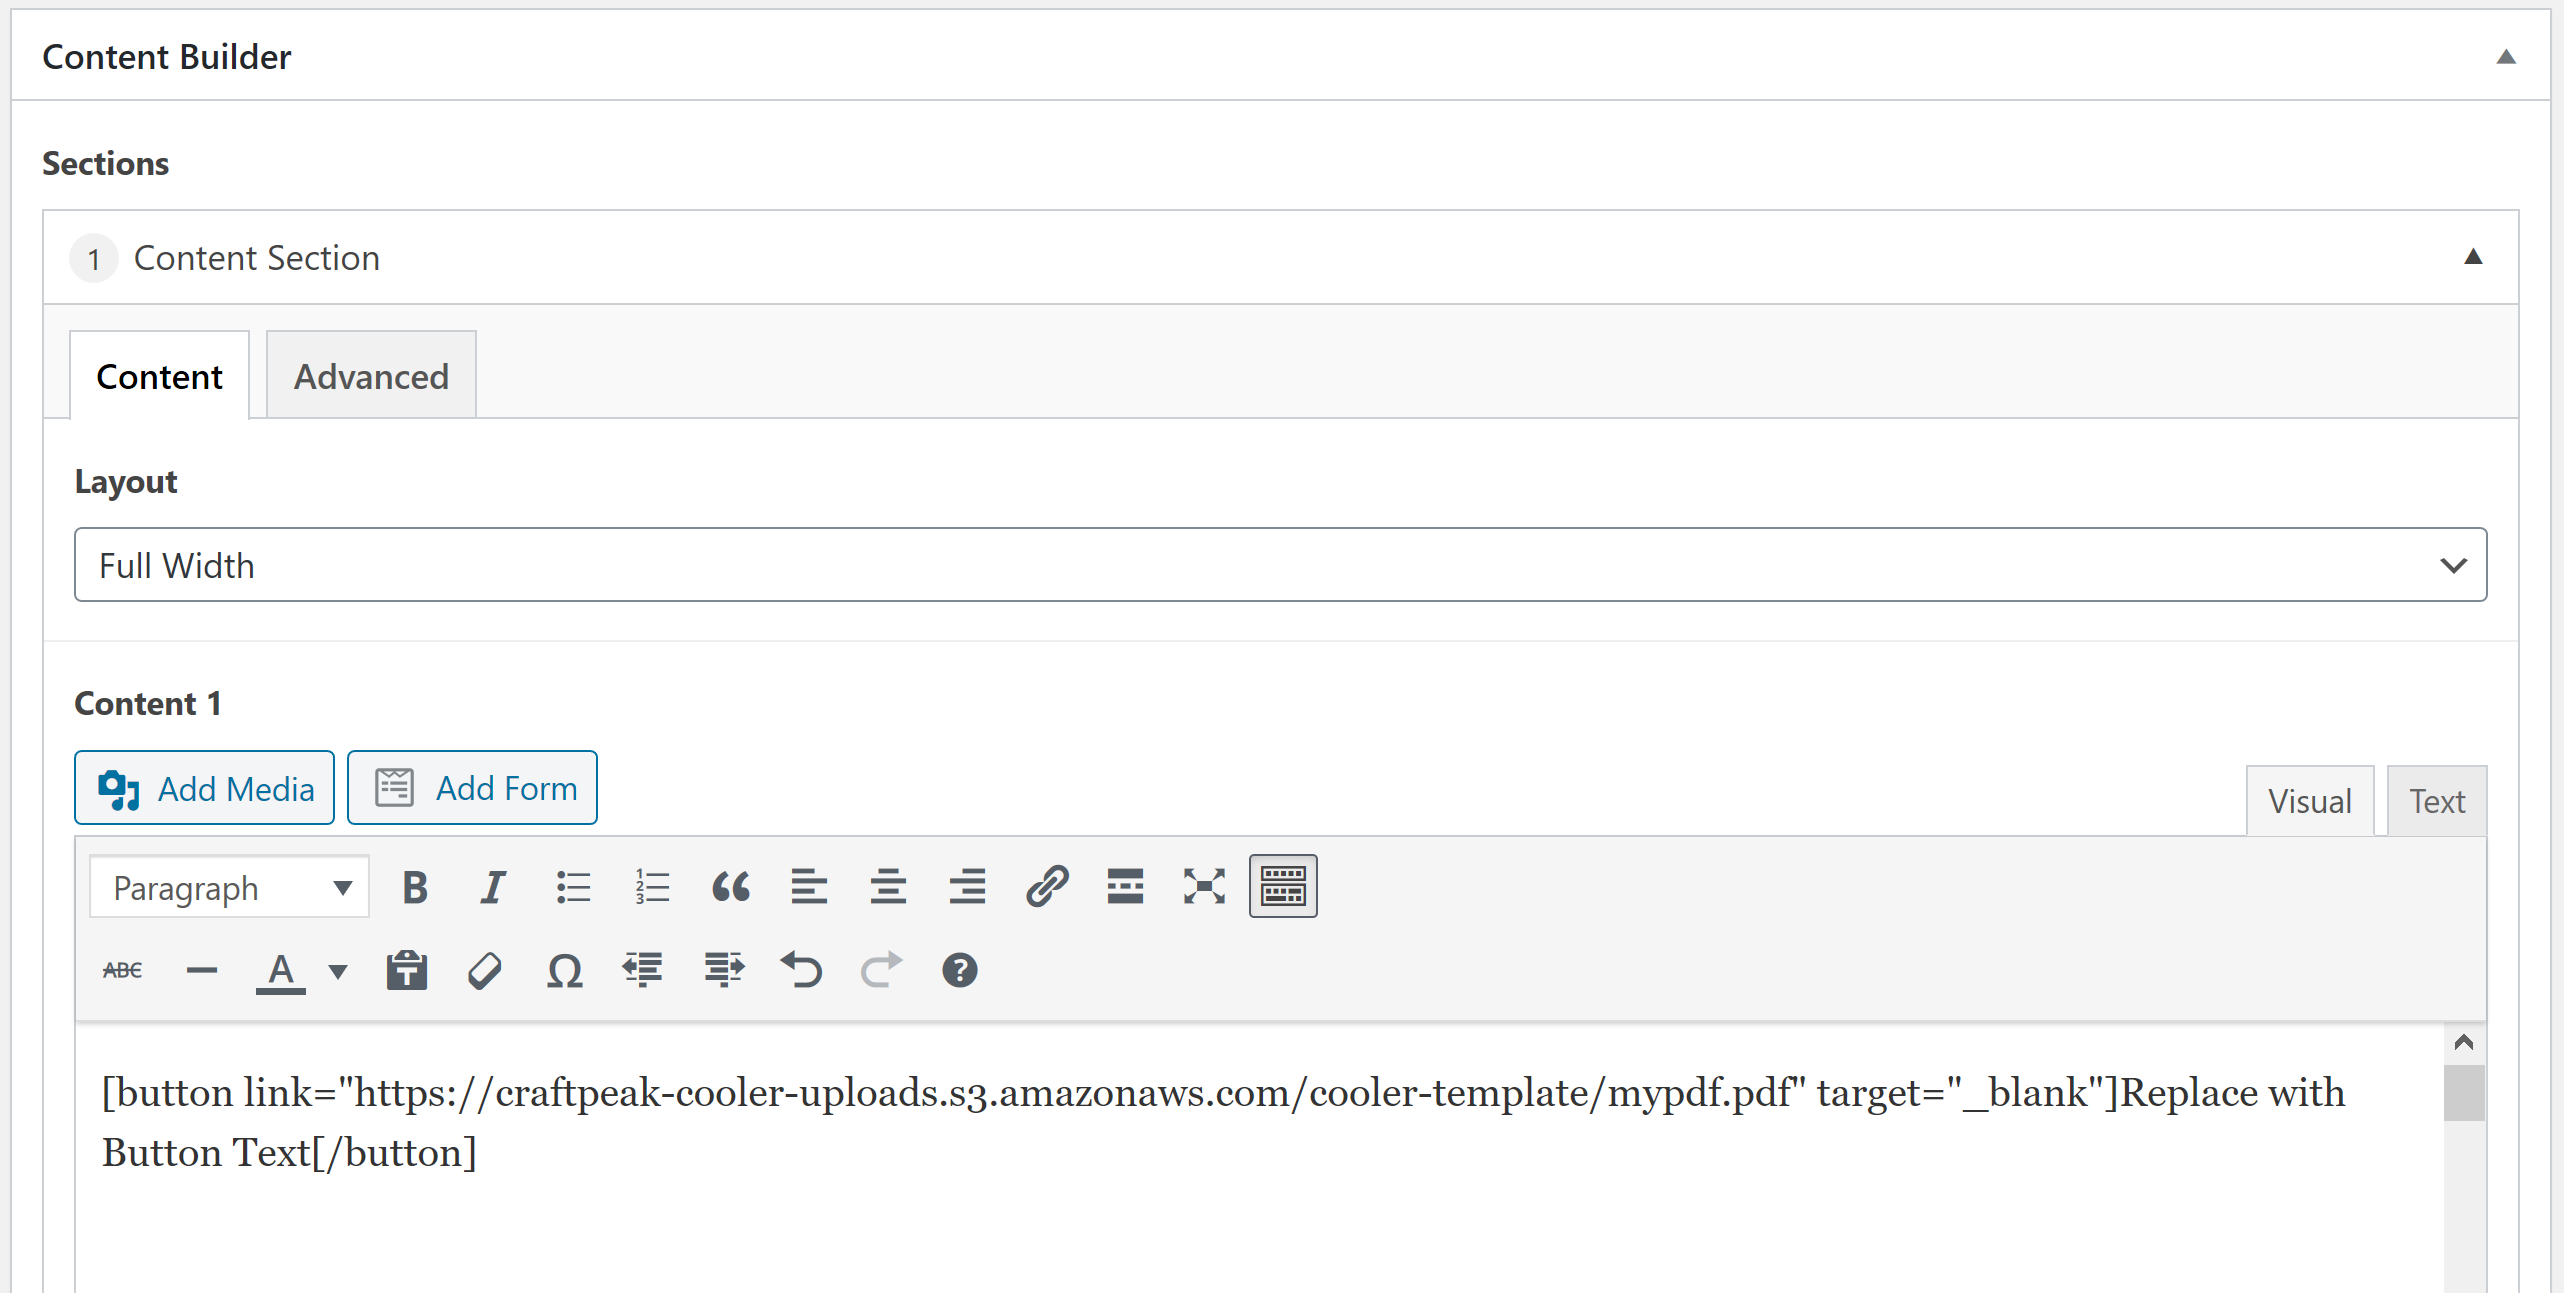
If your page was not built with the Page Builder, you'll be using a shortcode in the Content Builder.
1. In the content area where you'd like the button to be displayed, place the following shortcode below. Notice this is the same method for any button, we are simply using the link to the file (that you've copied in the first steps) rather than a web page.
**We recommend using the target="_blank" setting for your PDFs as this tells the link to open the file in a new tab rather than navigate your user away from your site.
Example
Optional: If you'd like to style your button differently than the default, you can add more attributes to the shortcode; visit the Button Shortcodes Help Article for more.