Add Beverages To Your Archive
How to add a new beer
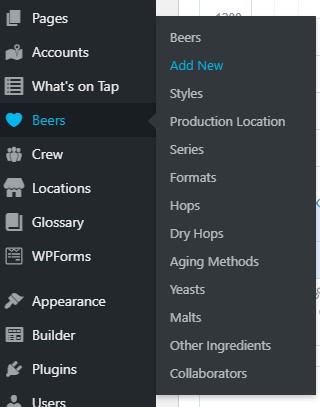
From your dashboard, hover over "Beers" and select "Add New":
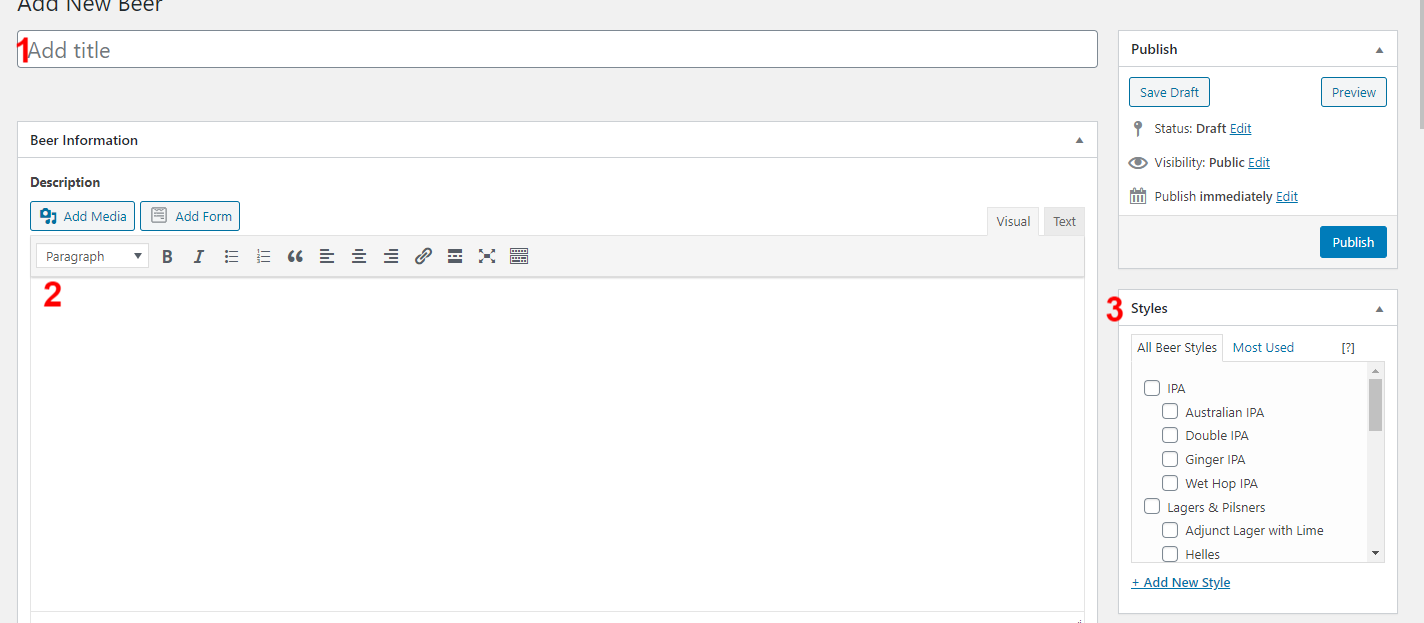
A new page will open for your beer entry. Fill out the following information (your brewery might not use all of the following):
1. Add the title of your beer
2. Give the description
3. Choose a current style or click "Add New Style" to create a new one.
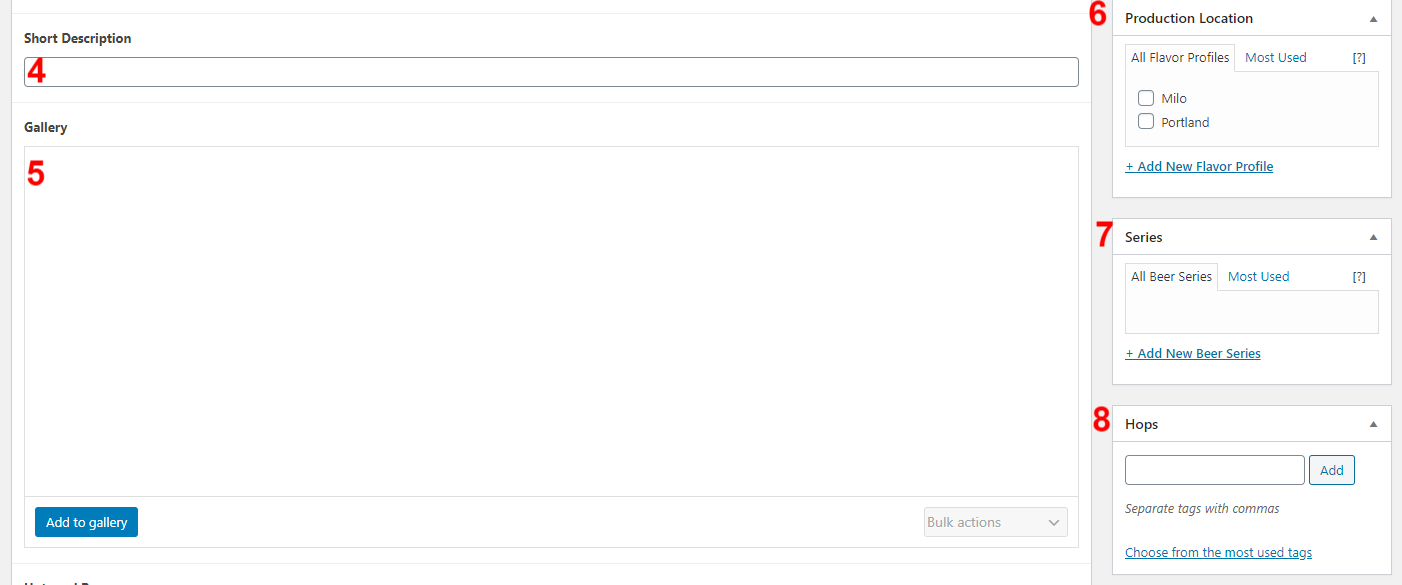
4. Add a short description (depending on your website's theme layout, when your customers view this new beer, the short description will usually be listed beneath the beer's title).
5. If you want multiple images for the beer, add them to the gallery (otherwise the picture will be pulled from the featured image).
6. Select the production location.
7. You can select the beer series or create a new series by selecting "Add New Beer Series"
8. Add individual hop types with commas
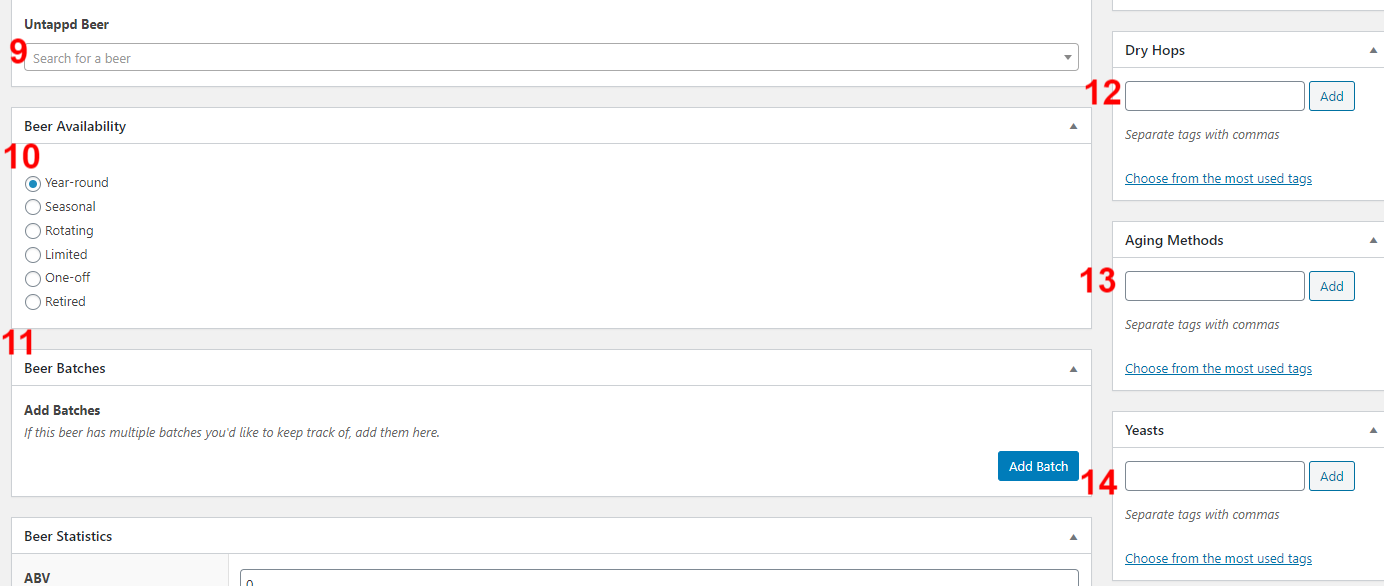
9. If you are using the Untappd module for your tap list, use this area to search for the beer on Untappd and link it.
10. Choose your beer's availability
11. If this beer has multiple batches, you can add a beer batch here.
12. Add individual dry hop types with commas
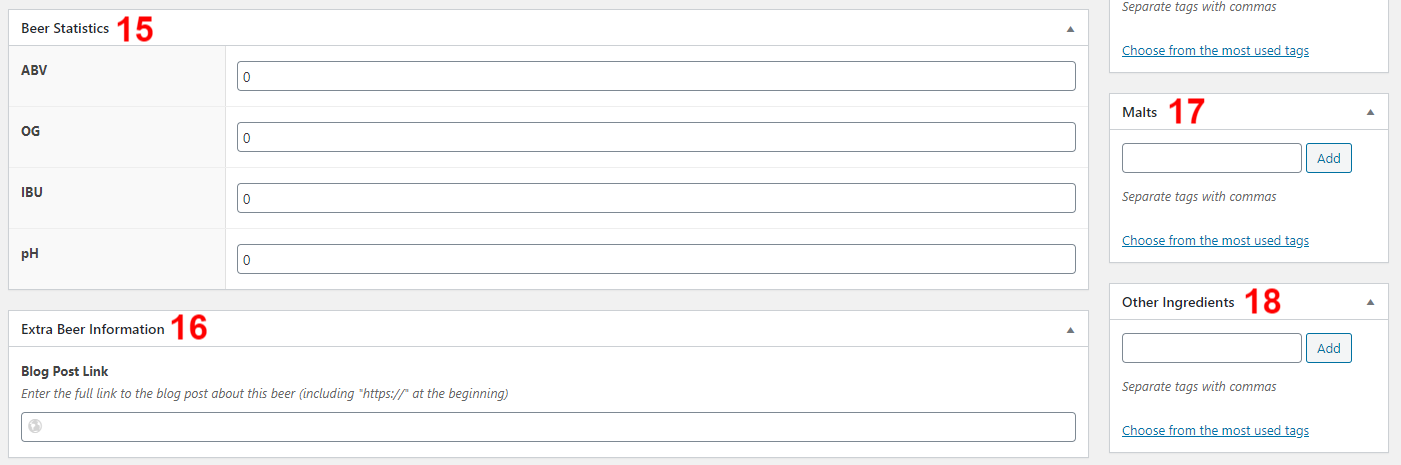
13. Add individual aging methods with commas
14. Add individual yeasts with commas
15. Add Beer Statistics
16. If you have any blog posts about this beer, add the URL here
17. Add individual malts with commas
18. If there are other ingredients you wish to display, add them here with commas between individual ingredients
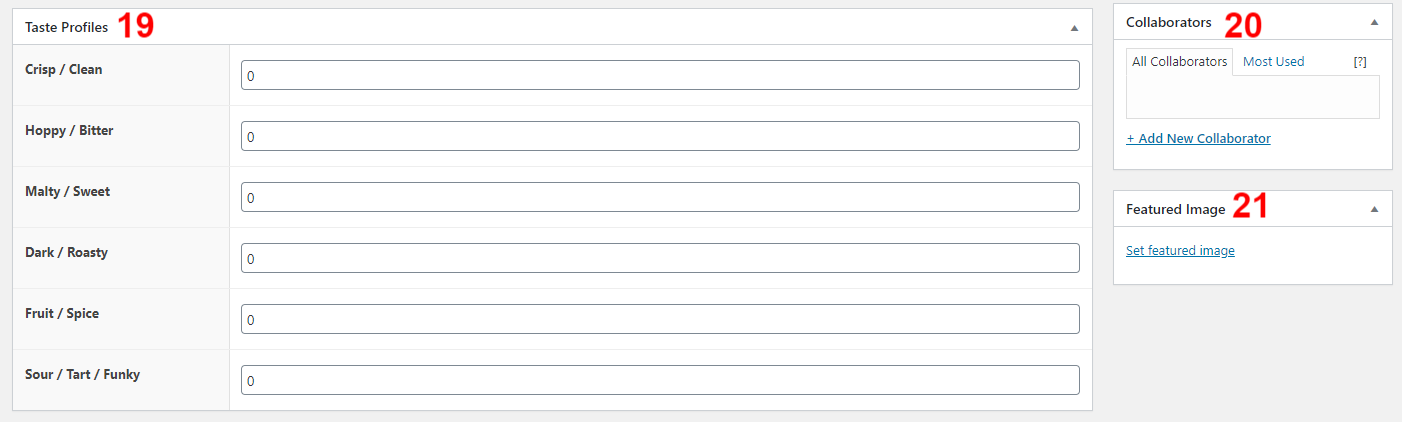
19. Enter the taste profiles
20. If you collaborated, select previously created collaborators or click "Add New Collaborator"
21. Set featured image. This will be the main image for your beer. You can upload or add an image for the image gallery.
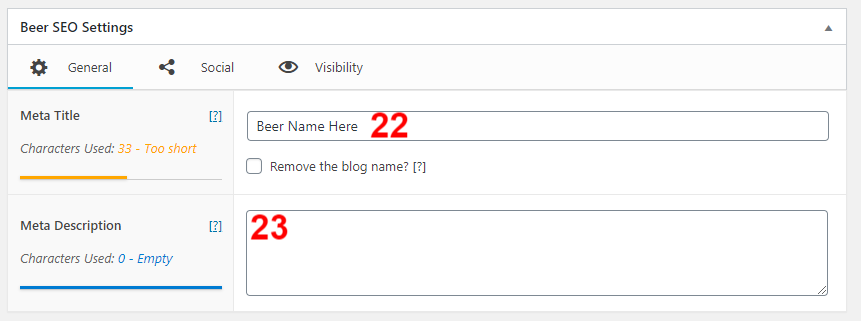
Make sure to fill out the "Beer SEO Settings". The colorful bars beneath "Meta Title" and "Meta Description" indicate if there's enough or too much text. Aim for the bar to be green.
22. Add the title/ beer name.
23. Give a description of the beer here.
When completed, scroll back to the top and press the blue "Publish" button at the top right. It's always a good idea to check out your new published beer and make sure everything looks correct.
Related Articles
How To Add Online Required Add-ons
What Are Online Required Add-ons? Arryved's Online required add-ons are a way to require an item to be purchased with another item when ordered through your Arryved Online Store. For example, if Someone orders a growler online, they'll need to ...How To Add FAQs
How To Add Or Edit FAQs If you use FAQs on your website, here are instructions on how to add or edit them. After logging into your site: Select FAQs from your dashboard. You can edit current FAQs by selecting "Edit" under the FAQ title. The title of ...How to Add Buttons
Learn about shortcodes To add a button to your website, you will use a button shortcode. A shortcode is a unique tag that allows you to pull predefined content, functions and more into your posts and pages. They are essentially shortcuts to inserting ...Add A Shop Banner
Shop Banners The shop banner is the highlighted area just below your shop logo and navigation. It lives on every page in the shop and is a great way to add messaging that needs to be highly visible. Update your shop banner Log in to your shop. Click ...How To Validate A New Device
What Is Device Validation? Any new Arryved device using Arryved Service or Print Controller needs to be validated before first-time use. You’ll retrieve a validation code from your Arryved Portal and enter it into the validation screen in Arryved ...