Epson Printer Setup Guide (Ethernet)
Epson Printer Setup With Ethernet
Have a brand new Epson printer you need to set up? Or are you trying to re-configuring your existing Epson printer? This article shows you how to configure your Epson printer using an Ethernet cable. Luckily, the hardwired approach is a simple plug-and-play setup.
Prerequisites
A strong and reliable network is the first step in setting up a successful POS system. Please read the following guides if you haven’t already,
You’ll need your Epson printer, the paper to load it, an Ethernet cable, and a live Ethernet Port.
This could be a wall port or a port attached to your internet router or switch.
Setup Guide
Steps To Follow
Plug it in
Load paper
Get the IP address
Enter Merchant Peripheral in Arryved Portal
Step 1: Plug The Printer In
Place the printer close enough to the live Ethernet port so the cable can reach it.
Grab the Ethernet cable and plug one end of it into the back of the printer.
Plug the other end of the Ethernet cable into the live Ethernet port.
Plug the printer’s power cord into an outlet. You may need an extension cord.
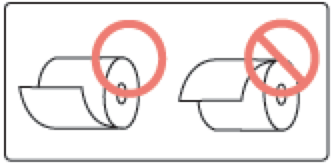
Step 2: Load Paper
Kitchen printers require you to load both the paper and ink ribbon separately, while receipt printers just require paper.
Grab the paper (and ink ribbon if needed) for this printer.
Open the paper chamber by lifting the gray latch on the top of the printer upward.
Load the paper (and ink ribbon if needed).
Close the paper chamber.
Test the paper by pressing the feed button on the printer and see if it comes out properly.
Restocking Paper & Ink
Here’s what type of paper and ink ribbon you need for each printer type. We’ve provided links to purchase through Amazon, but you can try a different retailer that you’re familiar with.
Epson TM-m30II (Wireless & Ethernet) / TM-T20ii (Ethernet) / TM-88V (Ethernet)
Thermal paper: 3 ⅛” x 230” → Purchase on Amazon
Epson TM-U22OB (Wireless & Ethernet)
Single Ply or 2-ply paper: 3” x 90” → Purchase on Amazon
Ink Ribbon: ERC-38 (black, black/red) (0.55" x 0.63" x 0.67") → Purchase on Amazon
Step 3: Get The IP Address
Turn the printer on.
A sheet will print with the IP address and other information. This could take up to 2 minutes to print.
Look for “IP address” and a string of numbers on the sheet.
If a sheet didn’t print,
look for the pinhole on the bottom labeled “SW” and use a pen or pointy object to click the button. Hold down for 3 seconds, and wait for the sheet to print.
If a sheet still doesn’t print,
Check your Ethernet cable is plugged in properly.
Check to see if the Ethernet port is actually live.
Take the Ethernet cable out of the printer and plug it into a PC computer and see if you can access the internet (try google.com). You’ll need to disconnect your computer from the WiFi first so it can pick up the Ethernet network.
If that doesn’t work, you could plug the Ethernet cable directly into your router or switch instead of the wall port.
If you can’t access the internet, contact your Internet Service Provider or IT Specialist for help.
Step 4: Merchant Peripherals In Arryved Portal
Once you have the printed sheet with the IP address on it, you’ll enter this printer into the Merchant Peripherals page of your Arryved Portal.
Head to your Arryved Portal.
From the left side navigation, click Devices.
Click Merchant Peripherals.
Read How To Enter Your Peripherals In Arryved Portal for a refresher on how to fill out all the fields.
In the Device ID field, enter the IP address found on the printed sheet.
Click Save.
Next
You’re all set! Send a few test prints from your POS. You can select this printer to print in Arryved Service.
Close Arryved Service on the POS device and reopen it. This will update with the changes made in your Arryved Portal.
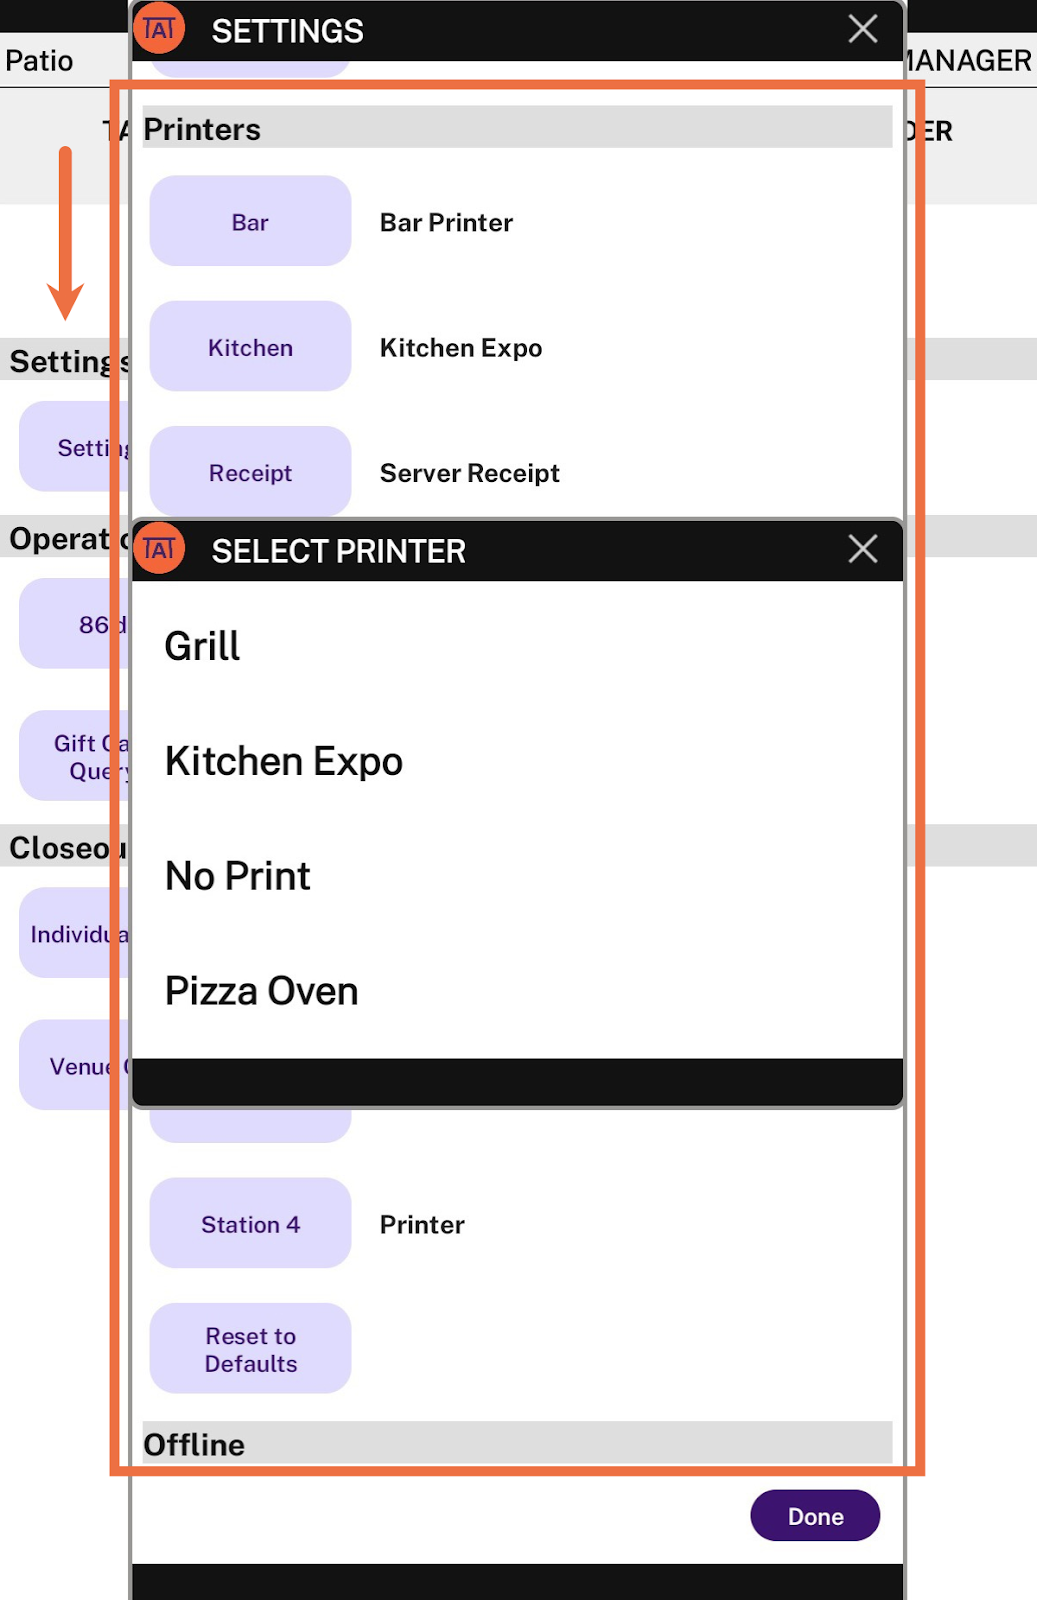
Log into Arryved Service → STAFF → Settings → Printers.
Tap on any of the ticket types to select a printer. The printer names match how the names were entered into the Merchant Peripherals page of your Arryved Portal.
Head to the TAB screen and send a test order.
Related Articles
Epson Printer Setup Guide (Wireless EpsonNet)
How To Enter Your Peripherals In Arryved Portal
Related Articles
Epson Printer Setup Guide (TM Utility)
Epson Printer Wireless Setup With TM Utility Have a brand new Epson printer you need to set up? Or are you trying to re-configuring your existing Epson printer? This article shows you how to wirelessly configure your Epson printer using the TM ...Epson Printer Setup Guide (Wireless EpsonNet)
EpsonNet Wireless Printer Setup Have a brand new Epson printer you need to set up? Or are you trying to re-configuring your existing Epson printer? This article shows you how to wirelessly configure your Epson printer using the EpsonNet Config on an ...How To Test Your Printers
Testing Your Printers So you’ve just set up your bar, kitchen, and receipt printers. Now let’s see if they print as intended! Follow the steps in this guide to send test prints to your printers. Prerequisites The Epson printer you’re testing is ...TM-M30III Printer Setup Guide (TM Utility)
Epson TM-M30III Wireless Printer Setup Have a brand new Epson TM-M30II printer you need to set up? Or are you trying to re-configuring the one you already have? This article shows you how to wirelessly configure in a few easy steps. Prerequisites ...How To Enter Your Merchant Peripherals
What Are Merchant Peripherals? Your Peripherals are the hardware that your POS devices are sending orders to. This is either a printer or a KDS device. This article will show you how to log each of your Peripherals in the Merchant Peripherals page in ...