Install The Epson KDS Configuration Utility
What Is The Configuration Utility?
The Epson KDS Configuration Utility will be downloaded and installed onto your PC. Using the utility, you can configure your KDS devices and customize the Order Tiles and display on your monitor(s). This article will show you how to install the Configuration Utility to your PC. Please note that if purchased through Arryved, your KDS will come configured already, in which case, this procedure is only necessary if you want to make changes.
Prerequisites
You have begun with the KDS Setup Guide.
You completed Step 1 and decided on Single Screen or Multi-screen setup.
You completed Step 2, reviewed the Hardware Checklist, and received your hardware.
You completed Step 3 and set up your hardware with the KDS Hardware Setup (Single Screen) or Hardware Setup (Multi-screen).
Limitations
Must have a PC Windows 7 or higher. Mac not supported.
Installation
Download
Go to this Epson webpage.
On the Epson webpage, click Utility + to release the dropdown.
Find the latest version of the Configuration Utility.
Click Download.
Install
Once the download is complete, a window will appear asking you to extract the folder.
Click the Browse… button and select a destination for your KDS Configuration Utility to live on your computer.
Click Extract to continue.
You will then see the utility in the extracted location labeled KDS.
Click KDS to open the utility.

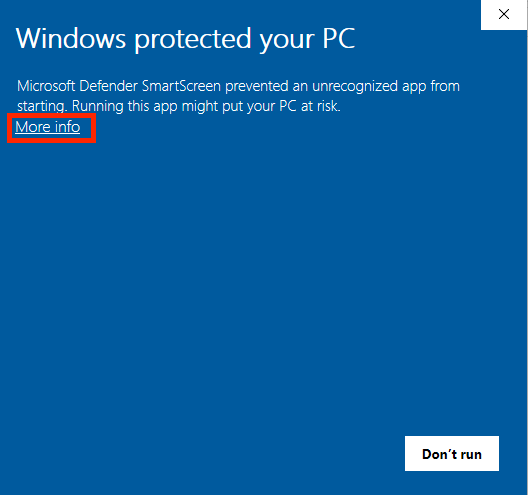
If this Windows protection warning pops up, click More info.
Then click Run Anyway.

Launch
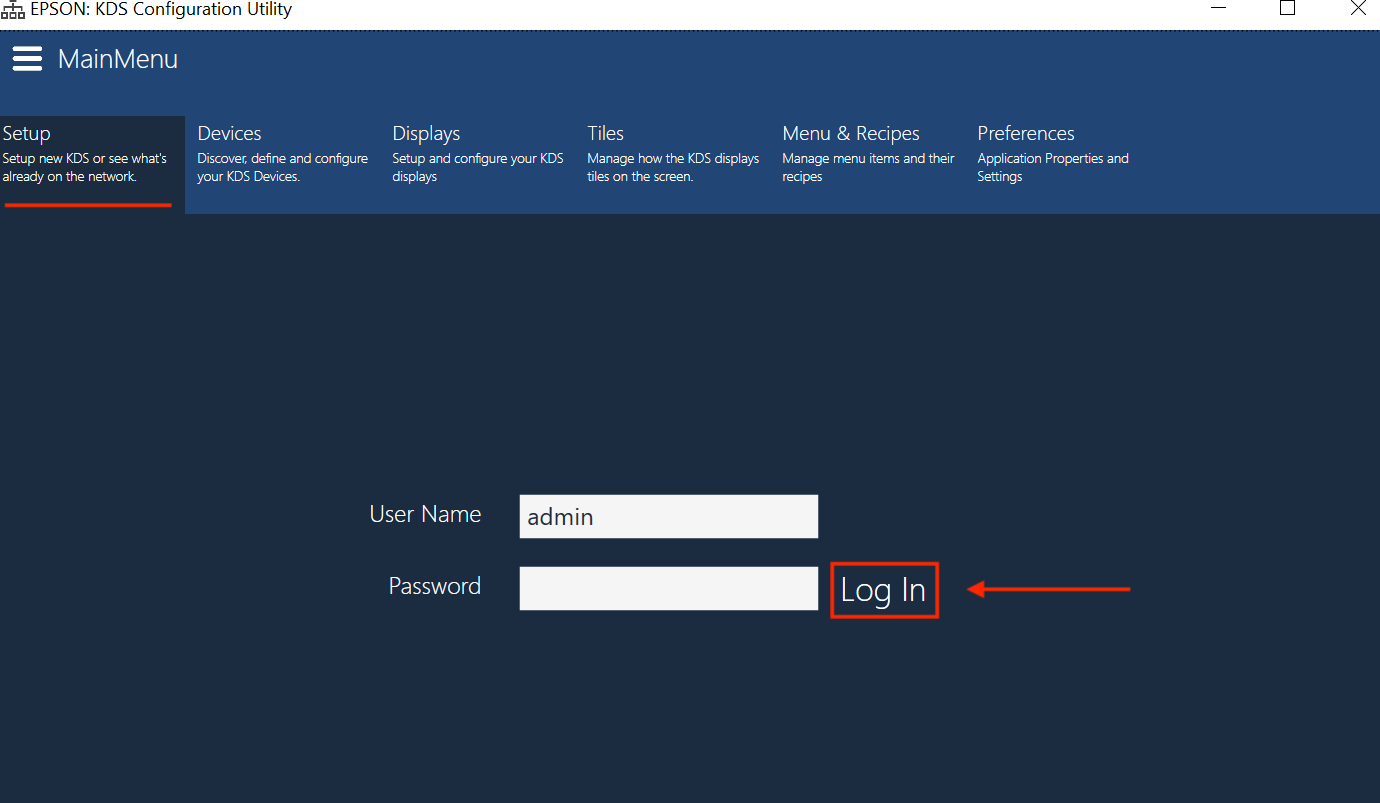
Alright, we are in! There are a few more steps to finalize the process. Once the install is complete, the login page will appear.
Enter the User Name: admin.
Leave the password section blank, there is no password.
It is easiest to leave the username and password as is for future use.
Click Log In.
In the next pop-up, select "I am an expert” from the options.
This will allow us to make small changes without disrupting large configurations.
Click Finish.

Gut Check!
If the install has worked correctly, you will see the KDS Setup screen.

Next
Head back to the KDS Configuration main article to track your progress and move to the next step in the configuration process.
Or continue to Step 2 in the configuration process, Configuration Utility Settings, directly.
Or head back to the KDS Setup Guide to skip the configuration process to move to the next step in the overall KDS Setup.
Related Articles
Epson KDS Configuration Utility Settings
What Is The Configuration Utility? The Epson KDS Configuration Utility will be downloaded and installed onto your PC. Using the utility, you can configure your KDS devices and customize the Order Tiles and display on your monitor(s). This article ...Epson KDS Configuration
Overview If purchased through Arryved, your KDS hardware will be initially configured by an Arryved Specialist based on the KDS Setup Questionnaire you received. If you need to modify your configuration or if your hardware was outsourced, the steps ...How To Customize Epson KDS Displays
What Is The KDS Display? The KDS display is the total of what you see on a KDS monitor. This is different from the display of an individual Order Tile. You can customize how the Order Tiles are arranged on the screen, what tile format to use, create ...How To Customize Epson KDS Order Tiles
What Are Order Tiles? The Order Tiles are the rectangles that appear as the digital "tickets'' on the KDS monitor(s). A tile will show the items in an entire order including notes and modifications. You can customize certain display options for Order ...How To Configure Epson KDS Devices
What Are KDS Devices? A KDS device refers to any printers or Expansion Modules used for your Kitchen Display System. This article will teach you how to configure your KDS devices in the Configuration Utility on your Windows PC. Please note that if ...